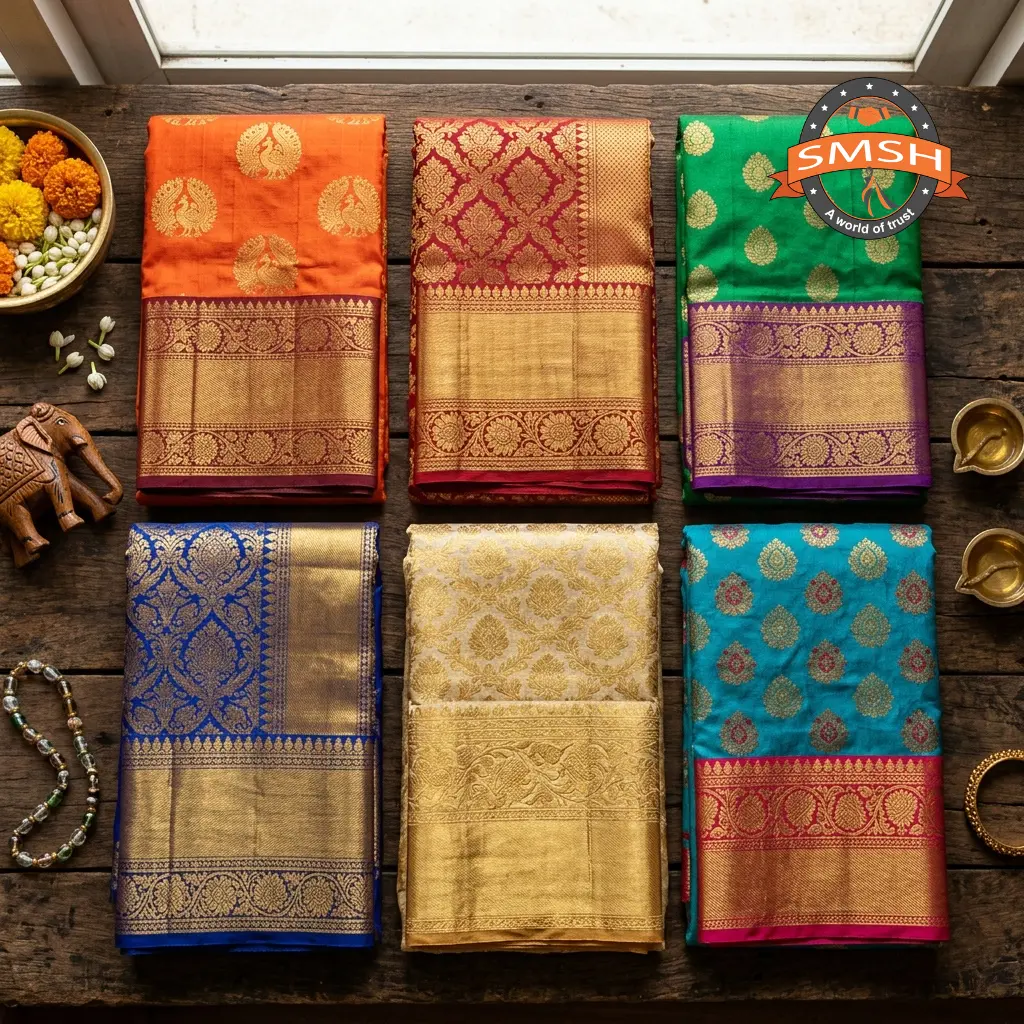
The 8-Stage Weaving Process
Every Sri Murugan Silk saree passes through eight carefully mastered stages before it becomes the masterpiece you hold.
Silk Yarn Selection
The journey begins with carefully sourcing the finest quality silk yarns. Our experts evaluate each batch for luster, tensile strength, smoothness, and thread count — only the best makes it through.
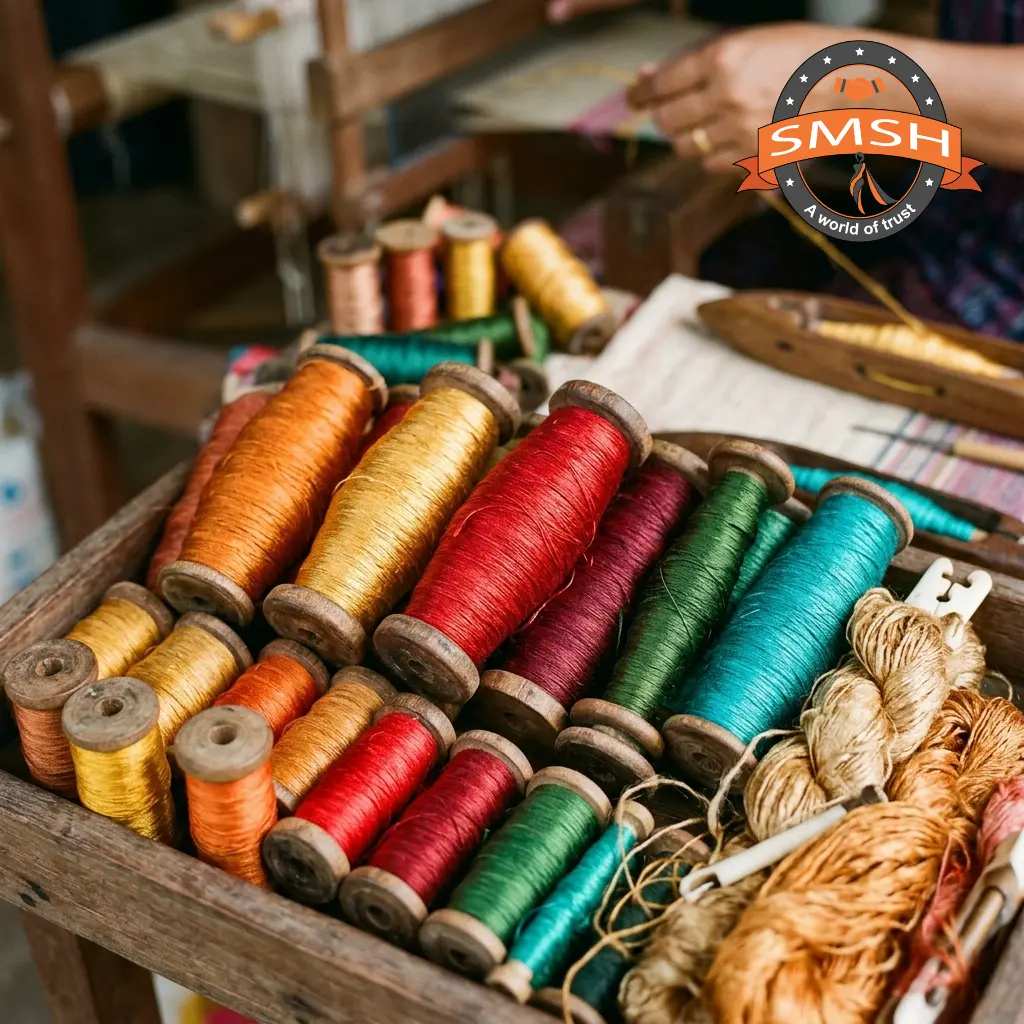
Thread Preparation
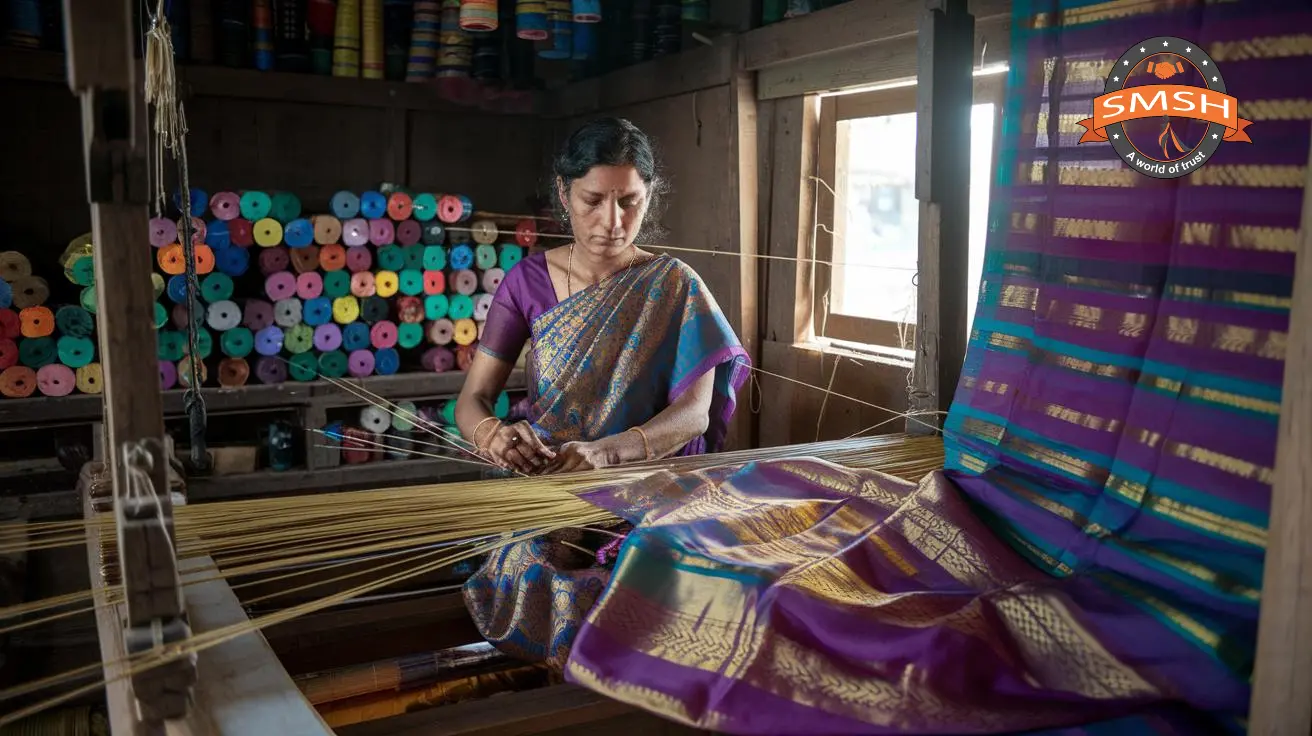
Once selected, the silk threads are prepared for the loom. This includes winding them onto bobbins and spools, and measuring precise lengths for the warp and weft according to the saree design specifications.
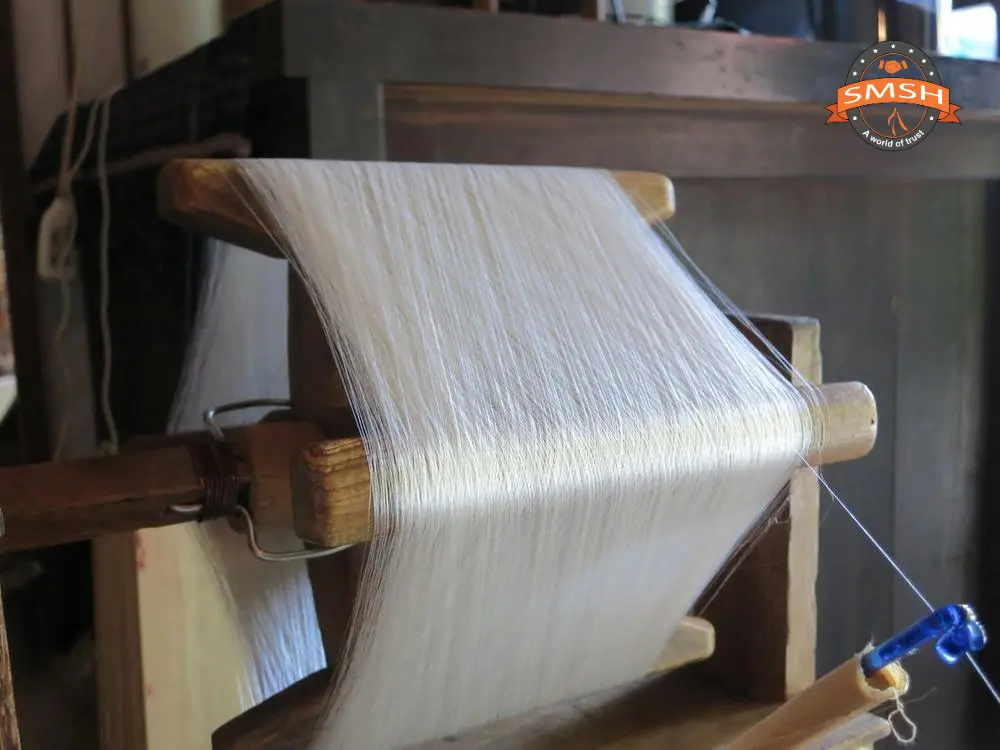
Twisting Process
The prepared silk yarns are twisted to give them strength and elasticity. This ensures the yarn can withstand the tension of the loom without breaking, resulting in a durable and high-quality fabric.
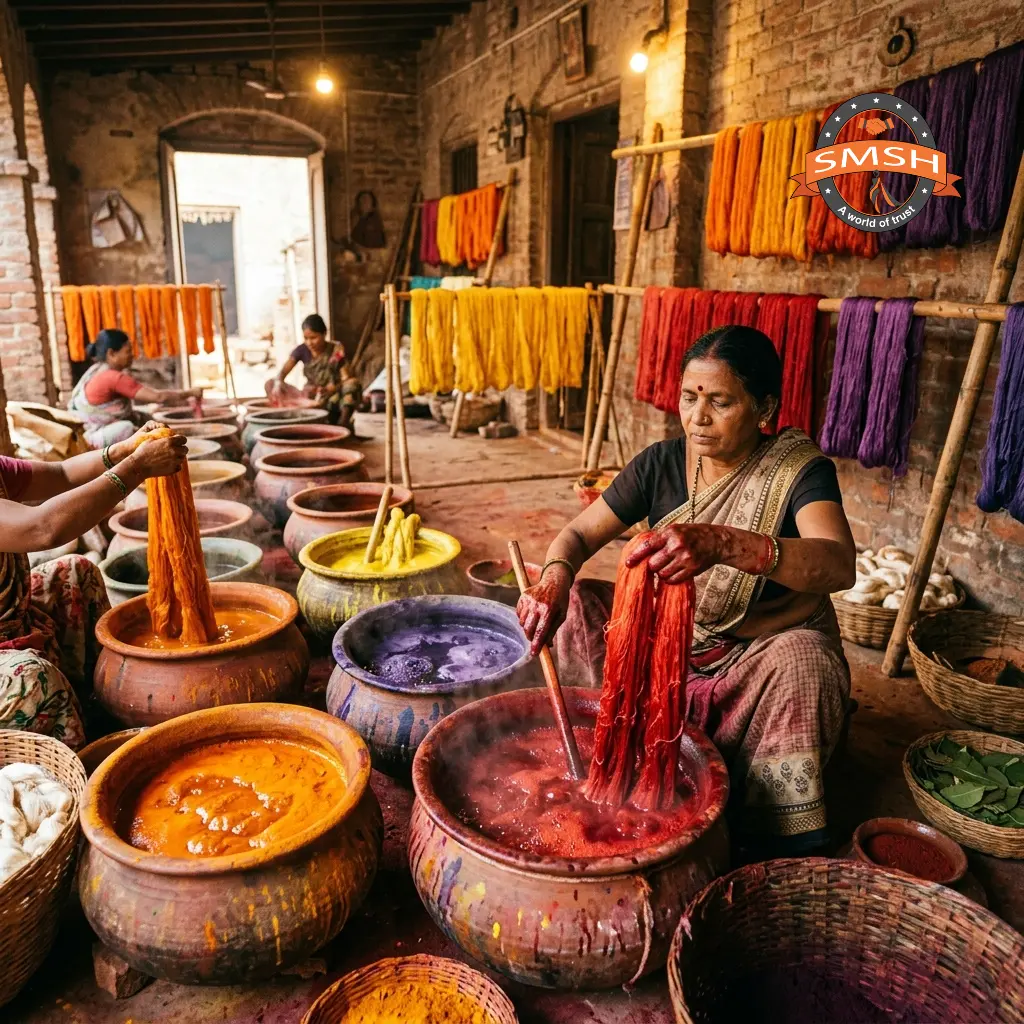
Dyeing Process
Twisted silk threads are dyed using traditional methods that ensure deep, rich, long-lasting colors. The dyeing process is an art in itself — precise temperatures, timing, and natural mordants are used to achieve the vibrant hues you see in our sarees.
Loom Setup
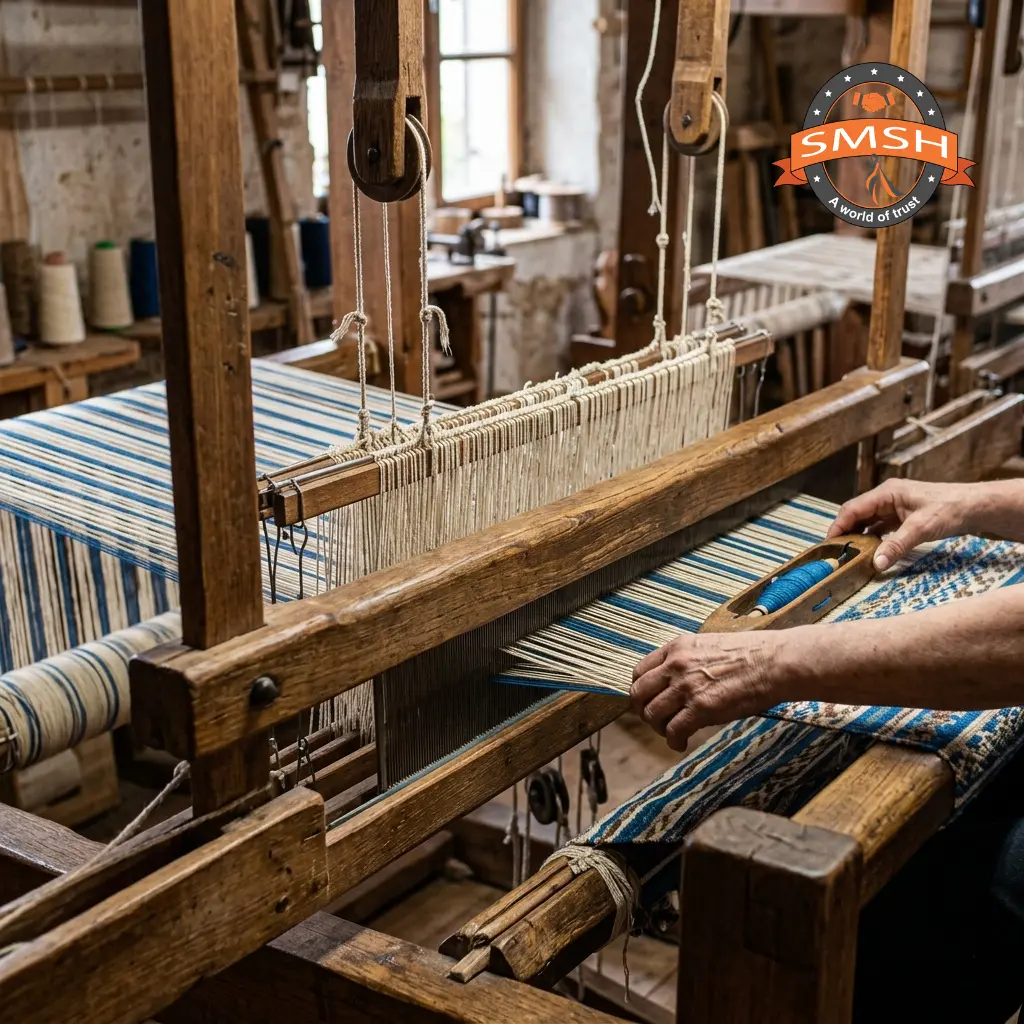
The traditional wooden handloom is carefully set up by the master weaver. Warp threads are mounted on the warp beam, passed through the heald shafts and reed in the correct pattern sequence. This preparation alone can take one to two full days for complex designs.
Handloom Weaving
This is where the magic happens. The master weaver sits at the loom and begins the rhythmic dance of weaving — pressing the pedals, throwing the shuttle, and beating the reed. Each row of weft threads is interlaced with precision, and patterns emerge gradually from what seems like a sea of threads.
Quality Inspection
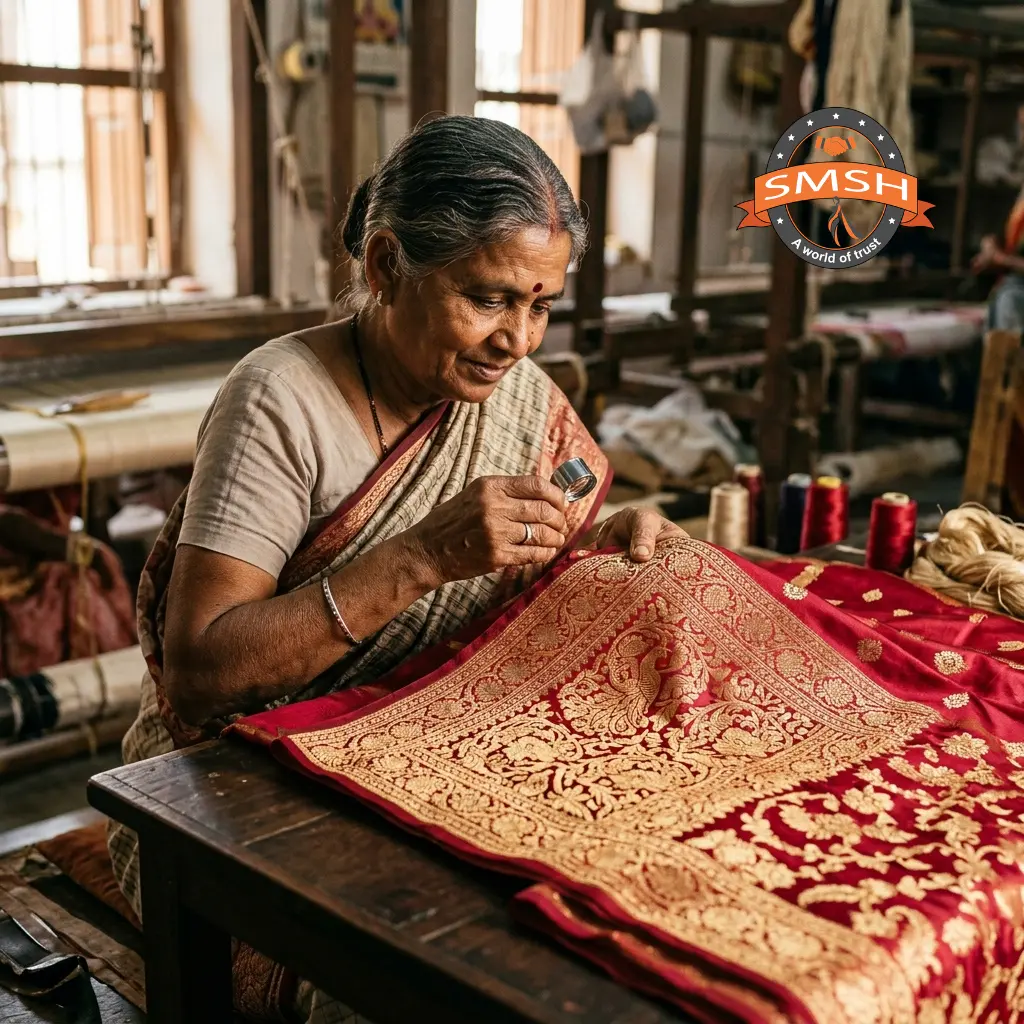
Once the weaving is complete, every saree undergoes a rigorous multi-point quality inspection. Inspectors check weave density, pattern consistency, border alignment, color uniformity, and overall finish. Only sarees that pass every standard are approved for distribution.
Finished Saree
The final saree is carefully folded, tagged, and packaged — ready to begin a new journey. From the loom to your hands, every saree carries not just fabric, but the dedication, skill, and passion of the artisan who created it. A timeless masterpiece of handloom heritage.